EVA Bookings for appointments
Table of Contents
- Key appointment booking features
- How to set up EVA bookings for appointments
- 1. Set up one or more appointment types as Bookable resource types
- 2. Check and modify the settings for your appointment type
- 3. Check and customize messaging
- 4. Holidays/Closed Dates
- 5. Create a master bookable resource for each appointment type
- 6. Clone the resource (appointment slot) to generate all the slots you need
- 7. Check everything is working as you expect
- 8. Invite and manage bookings
- Find out more
Provide and manage bookable appointment slots directly in EVA, so patients or clients can book their own appointments.
Key appointment booking features
- Administrators can see and manage all appointment bookings, re-send them and easily get in touch with those booked if circumstances change – eg staff illness or emergency
- Appointment capacity and duration are fully flexible and easy to configure
- Supports unlimited bookable appointments and users
- Optionally, connect bookings to EVA Check-in to enable running late reminders and automatically release no-show capacity
How to set up EVA bookings for appointments
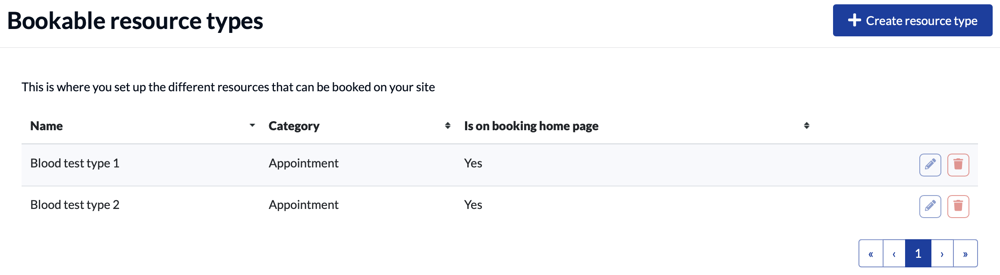
1. Set up one or more appointment types as Bookable resource types
Messaging, arrival time interval, booking visibility and URL for bookings are set by resource type. You'll need to set up different resource types if these details change for different kinds of appointment.
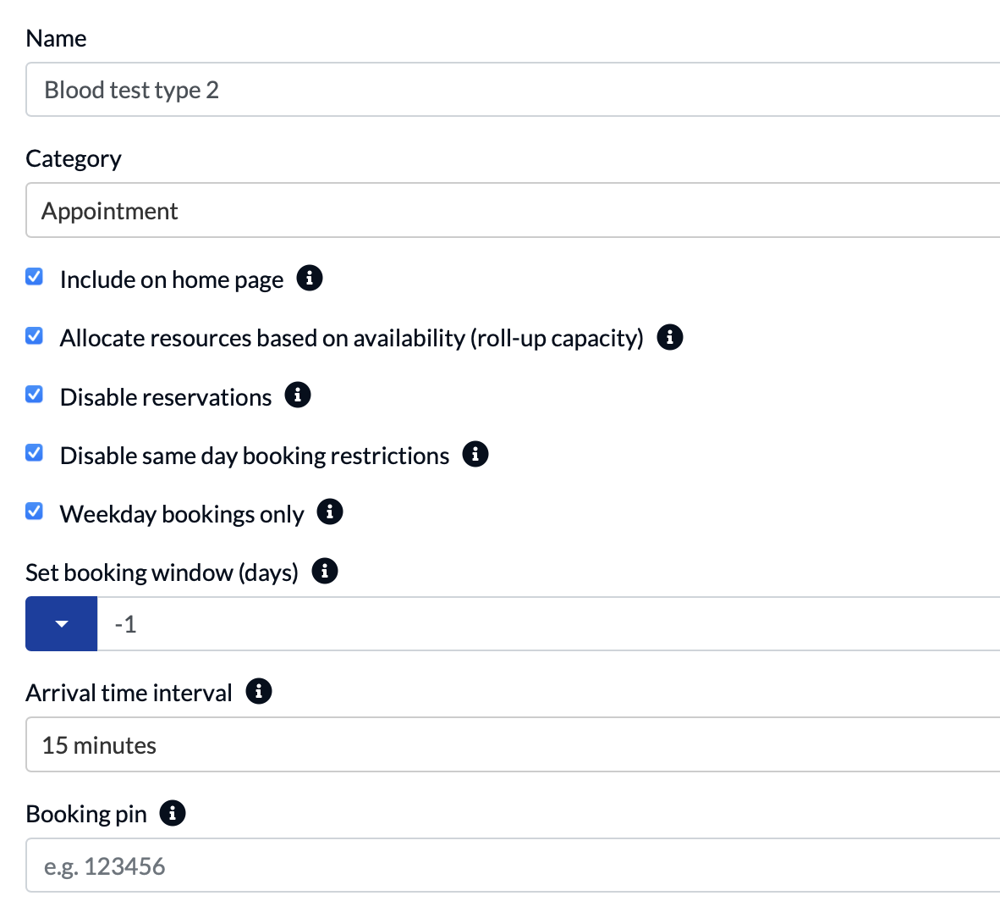
2. Check and modify the settings for your appointment type
- Make sure “Allocate resources based on availability” is ticked
- Make sure “Disable reservations” is ticked
- Disable same day booking reservations if you want to prevent people from booking more than one appointment per day
- Select “Weekday bookings only” unless you have weekend appointments available
- Make sure the “Arrival time interval” matches your appointment duration
- Optionally, add a booking pin if you’d like to secure and limit access to your booking page
- The Booking Window controls how many days in advance bookings can be made.
- Use the provided link to preview your booking page (save first)
When you're happy with these settings, click Save.
3. Check and customize messaging
Check the Templates tab for each appointment type to modify the messages and emails that are part of your visitor booking experience.
4. Holidays/Closed Dates
Create days when bookings are unavailable. Enter the start and end date (inclusive) of your holiday period. For a single day holiday, the start and end date will be the same.
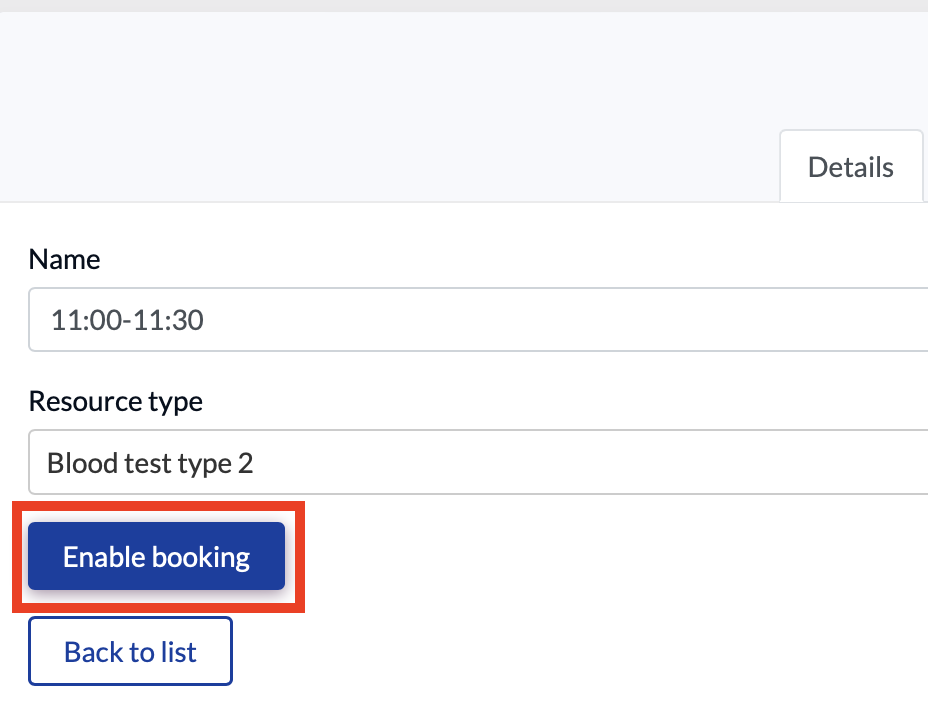
5. Create a master bookable resource for each appointment type
For appointments, we recommend naming them by timeslot - eg 8:00-8:30 - for patients to select and book.
Select the resource (appointment) type and click Enable booking:
For the first resource (appointment slot) per type that you create, make sure you have the correct settings in place, as this will be your master appointment.
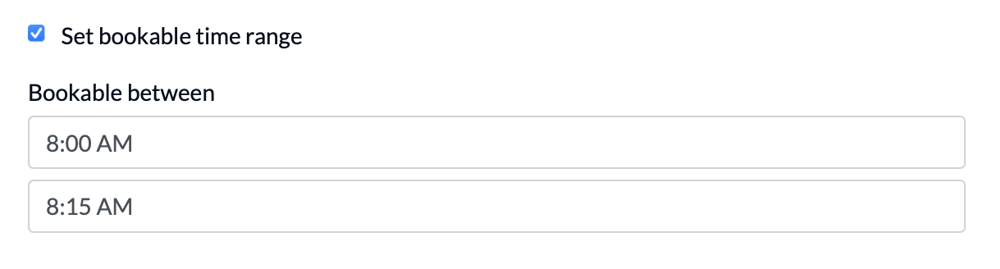
IMPORTANT! Set bookable time range
Ensure bookable time range is selected, and matches the appointment time:
Capacity
Specify the number of appointments available by entering capacity. A capacity of 2 will allow 2 appointments to be booked in that slot.
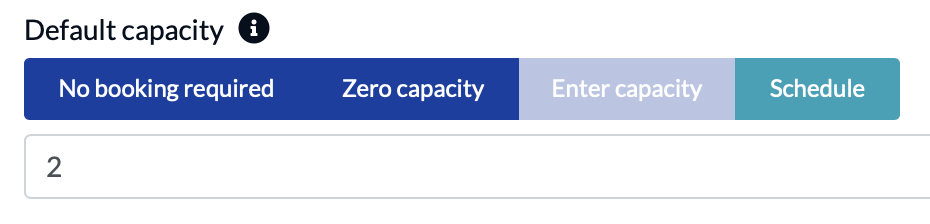
Optional settings
- Use Schedule to set different appointment capacities on different days of the week.
- Use Capacity by date to override the default capacity and create additional or reduced numbers of appointments on specific days. (Note: if you want to globally disable booking for a public holiday this can be done at the resource type level.)
- If you are using bookings in conjunction with check-ins, send a reminder at a specified time if the person who’s booked is late (Arrival prompting)
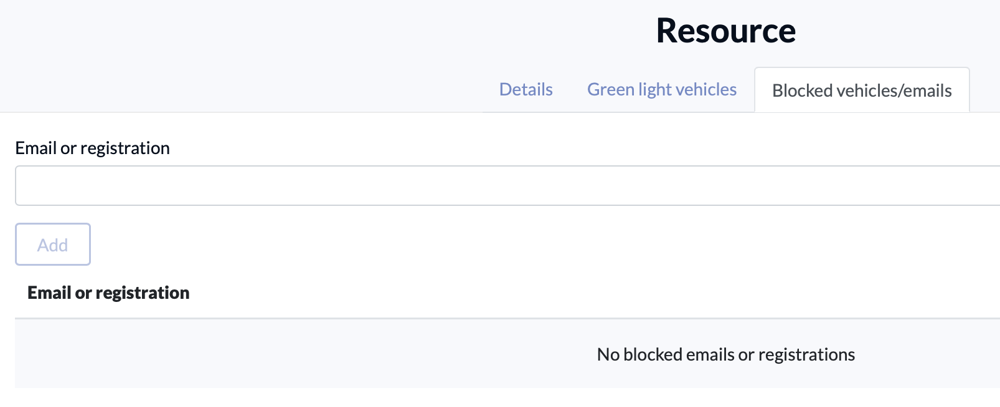
- Add blocked emails for known cases of booking system abuse
6. Clone the resource (appointment slot) to generate all the slots you need
Once you have created a master appointment slot and are happy with the settings, clone as many as you need and re-name them with the relevant times.
You will also need to update the bookable time range to match the appointment time.
7. Check everything is working as you expect
- Visit the Booking page via the Booking URL (find it here).
- Make a test booking - use your email address to make sure you receive booking notifications
- View your test booking
8. Invite and manage bookings
- Promote online bookings using the booking link provided on your website, email communications or as a printed QR code poster.
- View and manage bookings via the Who is coming report
Find out more
Using bookings for other scenarios