On-site forms and information
Use on-site forms & info to share essential workplace information, processes and forms with everyone on site, and make sure that info is available after check-in.
In this article
Uses of on-site forms
You can use on-site forms for:
- Incident reports
- Logging equipment issues
- Sharing wi-fi details or key contacts
- Daily briefings
- Coffee orders
- Hazard lists
- and more!
On-site forms is an add-on feature, charged per site. Each site can have multiple forms/info for the same price. View pricing.
How to set up an on-site form or information
- In the EVA Check-in portal, go to Overview > Processes and forms
- Click “Create” to create a new form/info, or get started by editing one of our templates:
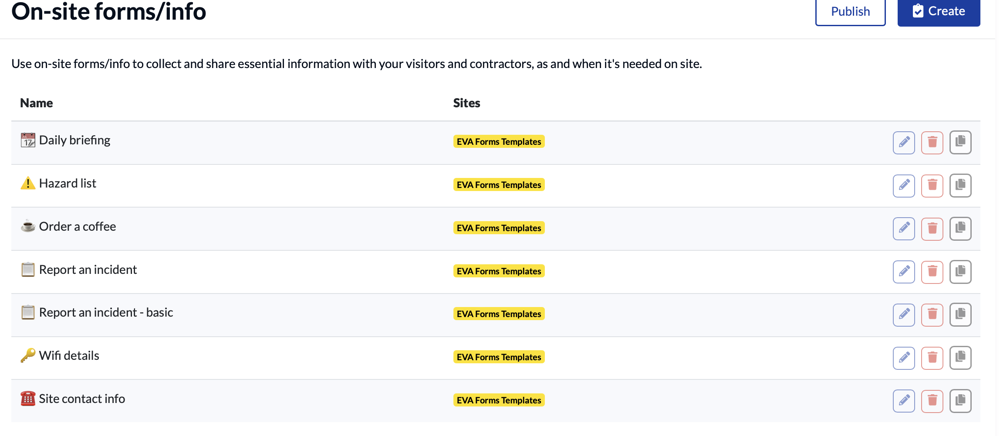
❓Can't see any templates? Contact us and we can load them for you. - Give your form/info a name, and add or modify any content/fields you need. This can include static information and/or form fields (text, date, time, radio buttons & more)
- Publish your form/info to the relevant site(s).

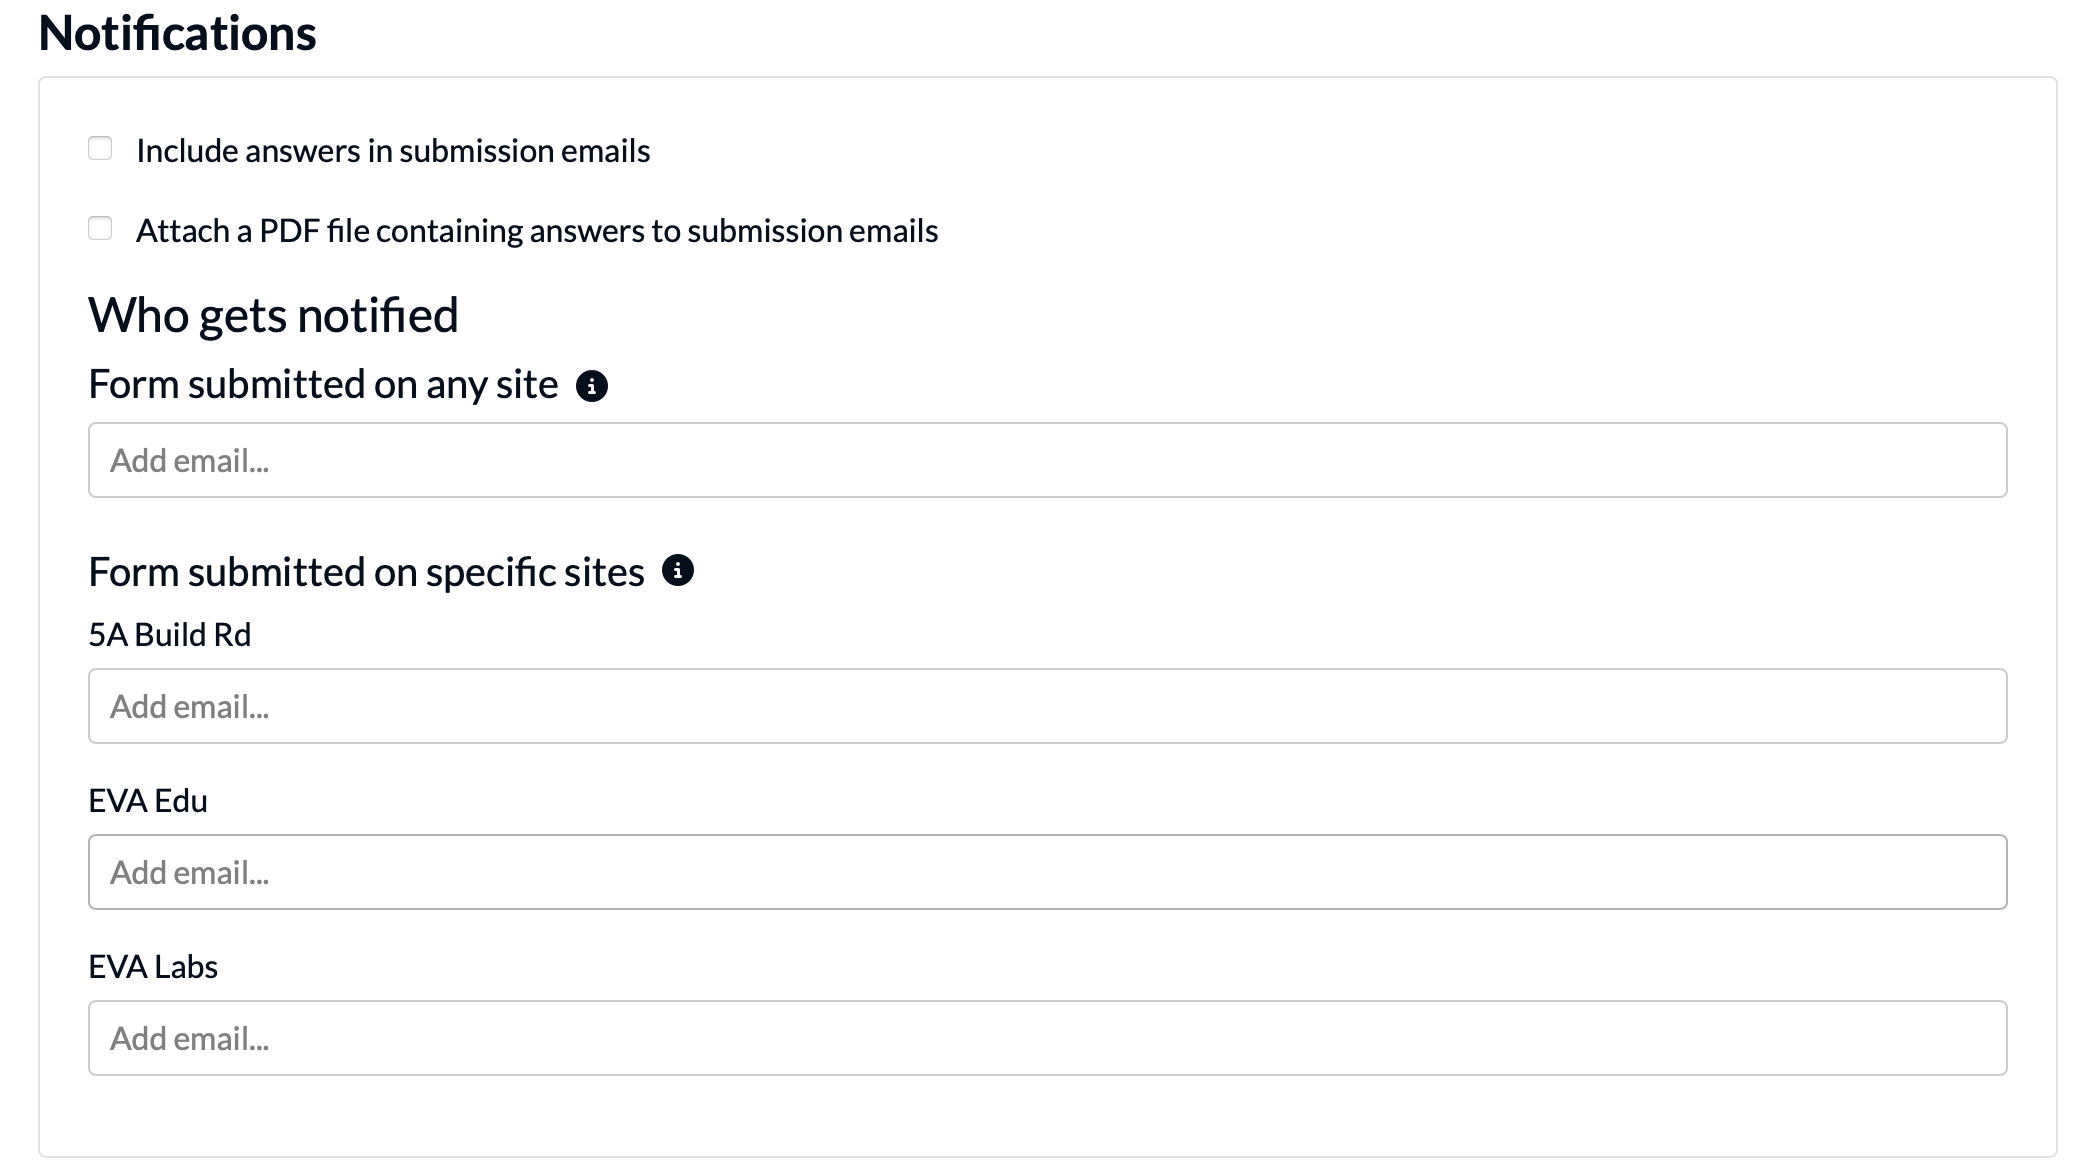
- You can also, if you wish, specify an email address to receive form submissions. This can be one address for any submissions of that form, across all sites, or different addresses can be specified per site.
Adding/editing fields within a form/info
Fields are the questions asked of a visitor as they complete an on-site form.
You can edit each field to suit, with introductory text, a field type and label.
Field types
Available field types you can include in your on-site form are:
- text - short/multi-line field
- date
- time
- number
- checkbox
- radio buttons
- dropdown
- file upload (incl photo)
- signature
Field options
Optionally, select field options:
- Pre-fill - field will be pre-filled if we have the details already (eg from check-in)
- Staff to complete – use this if it's something a staff member needs to complete rather than a visitor
- Required